Introduction:)

Welcome to #Day58 of #90DaysOfDevOps journey! Today, we embark on a new adventure, exploring Terraform in conjunction with AWS. In our previous challenges, we dabbled in Docker and locally provisioned resources with Terraform. Now, let's extend our capabilities by provisioning infrastructure on AWS using Terraform's declarative configuration files.
Prerequisites

AWS CLI
Before we dive in, ensure you have the AWS Command Line Interface (CLI) configured. If you haven't done this yet, check out the below blog for a guide on setting up the AWS CLI.
%[devxblog.hashnode.dev/iam-programmatic-acce..
I already configure the aws-cli in my machine

Install Required Providers
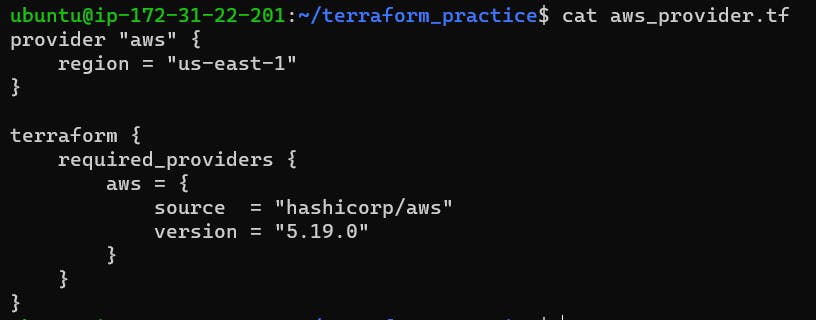
Define the Terraform block with name
aws_provider.tfto install necessary providers with specified versions. No need to specify Access and Secret Access Keys in the provider block, as we've already configured AWS CLI.provider "aws" { region = "us-east-1" } terraform { required_providers { aws = { source = "hashicorp/aws" version = "5.19.0" } } }
Task 1- Provision an EC2 instance
Step 1: Create Terraform Configuration File
As we already created terraform and provider blocks in the aws_provider.tf file. Now we can create main.tf for defining AWS resources to provision EC2 instance.
# Define the EC2 instance resource
resource "aws_instance" "my_instance" {
    ami           = "ami-0287a05f0ef0e9d9a"  # Replace with your desired AMI ID
    instance_type = "t2.micro"
    tags = {
        Name = "MyEC2Instance"
    }
}

Step 2: Initialize Terraform
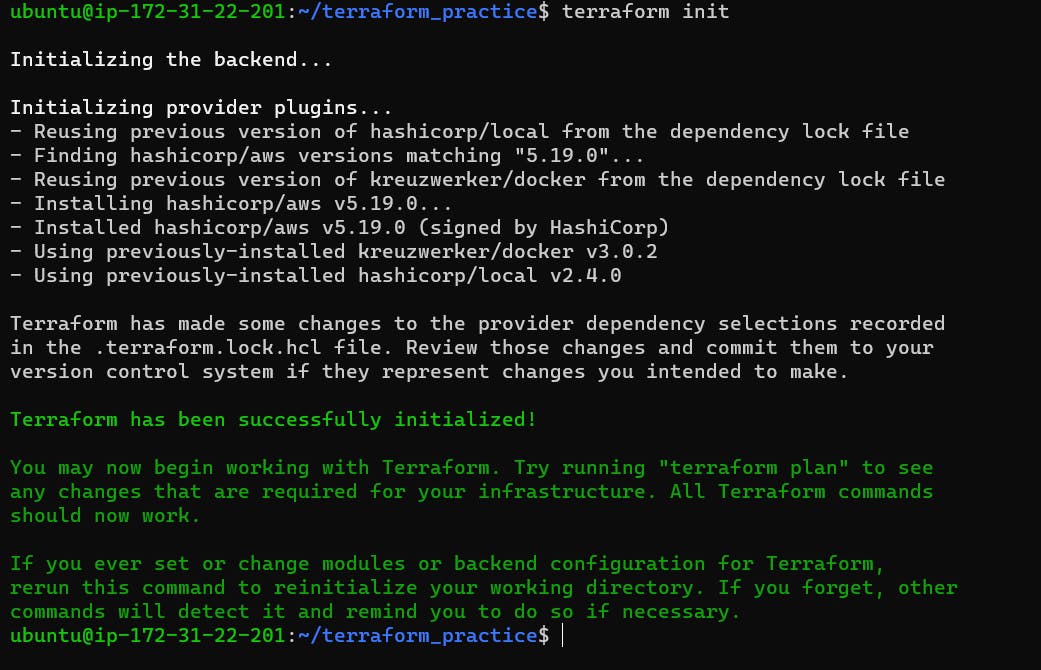
Run the following command in the terminal to initialize Terraform:
terraform init

Step 3: Plan and Apply Configuration
Run the following commands to preview the changes and apply the configuration:
terraform plan
This command will show you a preview of the changes that Terraform is going to make.

terraform apply
During the apply process, Terraform will ask for confirmation. Type "yes" and press Enter to proceed with creating the resources.

Step 4: Verify on AWS Console
After the terraform apply command completes successfully, go to the AWS Management Console and navigate to the EC2 service. You should see the new EC2 instance created with the specified configurations.

Step 5: Destroy Resources (Optional)
If you want to destroy the resources (terminate the EC2 instance), you can use the following command:
terraform destroy
This command will prompt for confirmation before destroying the resources. Type "yes" to proceed.


Conclusion:)
In today's #90DaysOfDevOps challenge, we explored Terraform's power by provisioning an AWS EC2 instance. By configuring AWS CLI, defining Terraform blocks, and creating infrastructure as code, we gained hands-on experience in automating resource deployment. Embrace the efficiency and scalability that Terraform brings to cloud provisioning! 🚀 #Day58
Connect with me:)
Thank you for diving into this blog with me! I trust you found the information both helpful and enlightening. To stay updated on the latest in DevOps 🚀, make sure to follow me. Remember, staying informed means staying ahead in the dynamic world of DevOps!
Feel free to connect with me on:
For more updates and engaging discussions on DevOps, let's connect! 🚀 #DevOpsCommunity
