Table of contents
Introduction:)

🚀 Welcome to Day 67 of #90DaysOfDevOps! 🛠️
Embark on a journey into the powerful realm of Amazon S3 (Simple Storage Service) today. Our focus: Crafting and managing S3 buckets effortlessly with Terraform.
AWS S3 Bucket

Amazon S3 (Simple Storage Service) is an object storage service that offers industry-leading scalability, data availability, security, and performance. It can be used for a variety of use cases, such as storing and retrieving data, hosting static websites, and more.
Key Points:)
Object Storage:
- S3 is scalable object storage for diverse data types.
Scalability:
- Accommodates an unlimited number of objects and data.
Data Durability:
- Ensures high durability through redundancy.
Data Availability:
- Provides high availability with low-latency access.
Storage Classes:
- Offers classes like Standard, Intelligent-Tiering, and Glacier.
Bucket and Object Management:
- Organizes data into buckets; allows various operations.
Access Control:
- Manages access through policies, ACLs, and IAM roles.
Versioning:
- Preserves and restores every version of stored objects.
Server-Side Encryption:
- Provides options for data-at-rest encryption.
Event Notifications:
- Triggers Lambda functions or notifications on events.
Transfer Acceleration:
- Uses CloudFront for accelerated uploading and downloading.
Prerequisites:)
NOTE: Make sure your IAM user has permission to do these tasks.
Set up the required providers with provider block
Set Up Your Terraform Configuration
  terraform {
    required_providers {
      aws = {
        source  = "hashicorp/aws"
        version = "5.19.0"  # Use the latest version
      }
    }
  }
Set up the Provider block
  provider "aws" {
    region = "us-east-1"  # Replace with your desired AWS region
  }
- AWS CLI configured with the necessary IAM roles.
Tasks:-
Task-1: Create an S3 bucket using Terraform
Step 1: Create a Terraform Configuration File
Create a file named
aws_s3.tfand add the following content:resource "aws_s3_bucket" "my_bucket" { bucket = "your_bucket_name" #make sure bucket name is unique }
Step 2: Initialize and Apply Terraform Configuration
Run the following commands:
  terraform init
  terraform plan
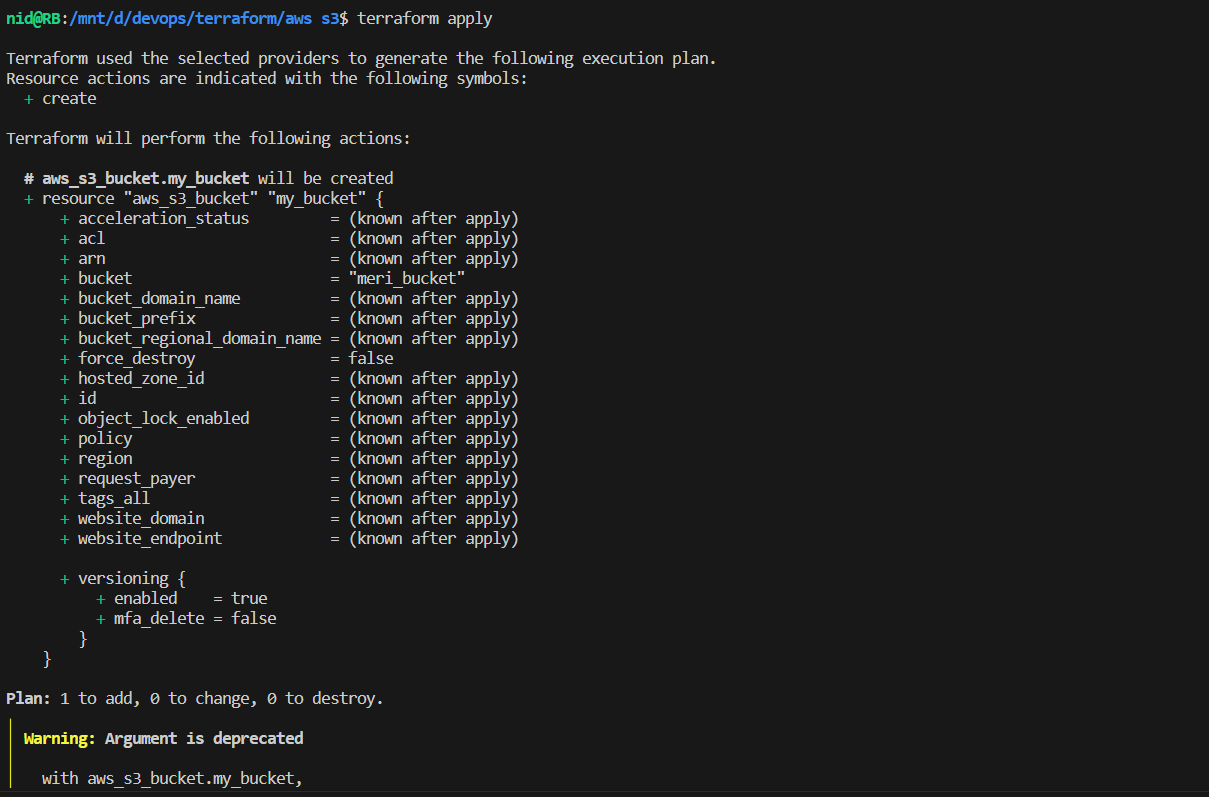
  terraform apply


Step 3; Verify
open the aws console and search for the s3 sevice

Task-2:Enable versioning on the S3 bucket.
To configure the S3 bucket to allow public read access, you can modify the Terraform configuration. Here's how you can do it:
Step 1: Update Terraform Configuration
Add a
versioningblock to youraws_s3_bucketresource in theaws_s3.tffile:resource "aws_s3_bucket" "my_bucket" { bucket = "meri_baldi" versioning { enabled = true } }
Step 2: Apply the Terraform Configuration
Run the following commands in your terminal:
  terraform plan
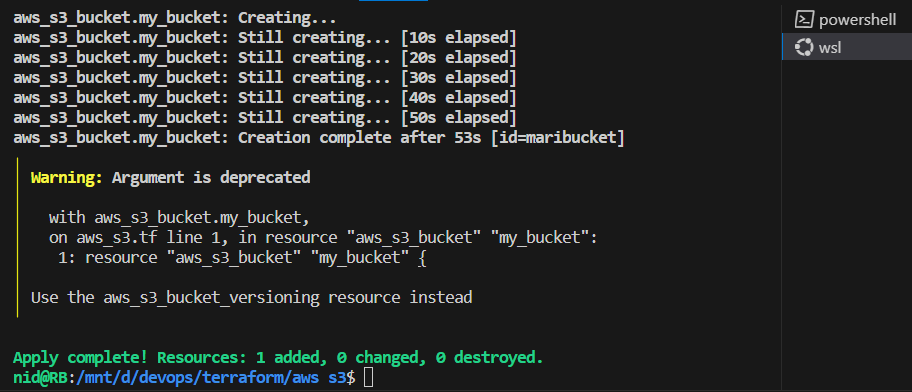
  terraform apply


Step 3: Verify
When you
click on the bucket > properties
Task-3: Configure the bucket to allow public read access.
Define the s3 policy block
add this content to the
s3_bucket_access.tf fileresource "aws_s3_bucket_public_access_block" "example" { bucket = aws_s3_bucket.my_bucket.id block_public_acls = false block_public_policy = false ignore_public_acls = false restrict_public_buckets = false } resource "aws_s3_bucket_policy" "bucket_policy" { bucket = aws_s3_bucket.my_bucket.id policy = <<EOF { "Version": "2012-10-17", "Statement": [ { "Sid": "PublicRead", "Effect": "Allow", "Principal": "*", "Action": ["s3:GetObject"], "Resource": [ "arn:aws:s3:::my-demo-bucket-som/*" ] } ] } EOF }
Step 2: Apply the Terraform Configuration
Run the following commands in your terminal:
  terraform plan
  terraform apply


Step 3 : Verify
Go to the
permissionof your bucket

Task-4: Create an S3 bucket policy that allows read-only access to a specific IAM user or role.
Step 1: Defile the block
Add a
websiteblock to youraws_s3_bucketresource in theaws_s3.tffile:resource "aws_s3_bucket_policy" "day67_bucket_policy" { bucket = aws_s3_bucket.day66_s3_bucket.id policy = data.aws_iam_policy_document.allow_read_only_access.json } data "aws_iam_policy_document" "allow_read_only_access" { statement { effect = "Allow" principals { type = "AWS" identifiers = ["account_number"] } actions = ["s3:GetObject"] resources = [ aws_s3_bucket.day66_s3_bucket.arn, "${aws_s3_bucket.day66_s3_bucket.arn}/*", ] } }
Step 2: Apply the Terraform Configuration
Run the following commands in your terminal:
  terraform plan
  terraform apply
Type "yes" when prompted to confirm the changes.


Step 3: Verify
check the policy of your bucket

Destroy the s3 bucket

terraform destroy

type yes


Connect with me:)
Thank you for diving into this blog with me! I trust you found the information both helpful and enlightening. To stay updated on the latest in DevOps 🚀, make sure to follow me. Remember, staying informed means staying ahead in the dynamic world of DevOps!
Feel free to connect with me on:
For more updates and engaging discussions on DevOps, let's connect! 🚀 #DevOpsCommunity
